Best Practices for Setting Up a Microphone at Home or Office
By Jon | 2 August, 2025
Proper microphone positioning can make a vast difference as it relates to the quality of audio being captured if it is for podcasting, virtual meetings or even gaming. So, here are some tips that will help to achieve the best outcomes with your microphone at home or at the office.
1. Choose the Right Microphone
The first step is selecting a microphone that suits your needs:
- Condenser Microphones: Perfect for studio and podcast use.
- Dynamic Microphones: Great for live environments or noisy spaces.
- USB Microphones: Easy plug-and-play option for beginners.
- Lavalier Microphones: Handy for presentations and interviews.
2. Select the Ideal Location
- Quiet Environment: Minimize background noise.
- Away from Reflective Surfaces: Reduce echo by avoiding hard walls.
- Isolated from Vibrations: Use a shock mount or pad to reduce desk vibrations.
3. Position Your Microphone Correctly
- Distance: Keep 6–12 inches from your mouth.
- Angle: Slightly off-axis to avoid plosive sounds.
- Height: Position to point at the sound source.
4. Use Quality Accessories
- Pop Filters: Minimize plosive sounds.
- Shock Mounts: Reduce unwanted vibrations.
- Mic Stands or Boom Arms: Stabilize and allow flexible positioning.
5. Optimize Your Environment
- Use rugs, curtains, or foam panels to reduce echoes.
- Turn off fans, ACs, or any other noise sources.
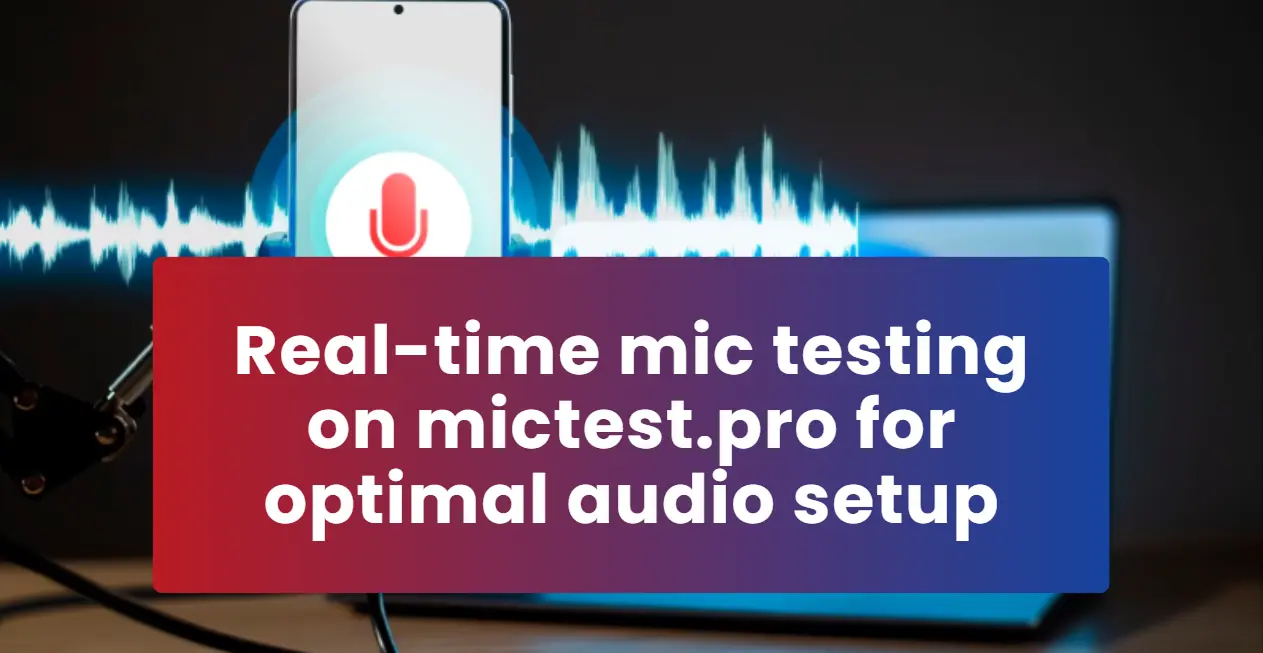
6. Test and Adjust Settings
Perform a mic test online to verify sound quality:
- Check volume levels to avoid distortion or low audio.
- Enable noise suppression if available.
- Use real-time feedback tools like MicTest.pro.
7. Regular Maintenance
- Clean your mic regularly with a soft cloth.
- Store in a protective case when not in use.
- Inspect and replace frayed or damaged cables.
Following these steps ensures your microphone delivers clear, professional audio for meetings, streaming, and recordings.
Recording at home or the office becomes easier with these practices. Regular testing with MicTest.pro keeps your microphone in top condition.
Related Posts
Mic Test Not Working? Top 7 Reasons and How to Fix Them
Top Microphones for Gamers in 2025 | Tested and Reviewed
How to Test Bluetooth Microphones for Online Meetings?
Why Isn’t My Microphone Working on Mac? Quick Fixes Explained
Best Practices for Setting Up a Microphone at Home or Office
How to Test and Fix Your Mic on Windows PC? | Complete Guide
Mic Echo During Online Calls? Easy Fixes for Crystal-Clear Audio
What to Do If Your Microphone Isn’t Detected on Windows 10/11?
How to Solve Common Mic Problems in Google Meet and Skype?
Why You Should Test Your Microphone Before Online Meetings?
Top 5 Free Online Tools to Check Your Microphone Performance Free in seconds
How to Test Your Microphone and Camera | A Complete Guide @mictest.pro
How to Test Your Microphone for Zoom Calls and Video Conferences?